How to check your paint before booking a coating
Before booking a coating, inspect your clean, dry paint in direct sunlight and with a bright LED, checking for swirls, water spots, scratches and oxidation, and run the fingernail test on any scratch. This tells you roughly how much correction the paint needs, so you can budget the coating and correction together and spot a quote that skips correction.
- Inspect clean, dry paint in direct sun and with a bright torch, defects hide in soft light.
- Look for swirls, water spots, scratches and oxidation, these decide your correction level.
- Run the fingernail test on scratches to gauge whether they polish out.
- A quote that coats without correcting your defected paint is a red flag.
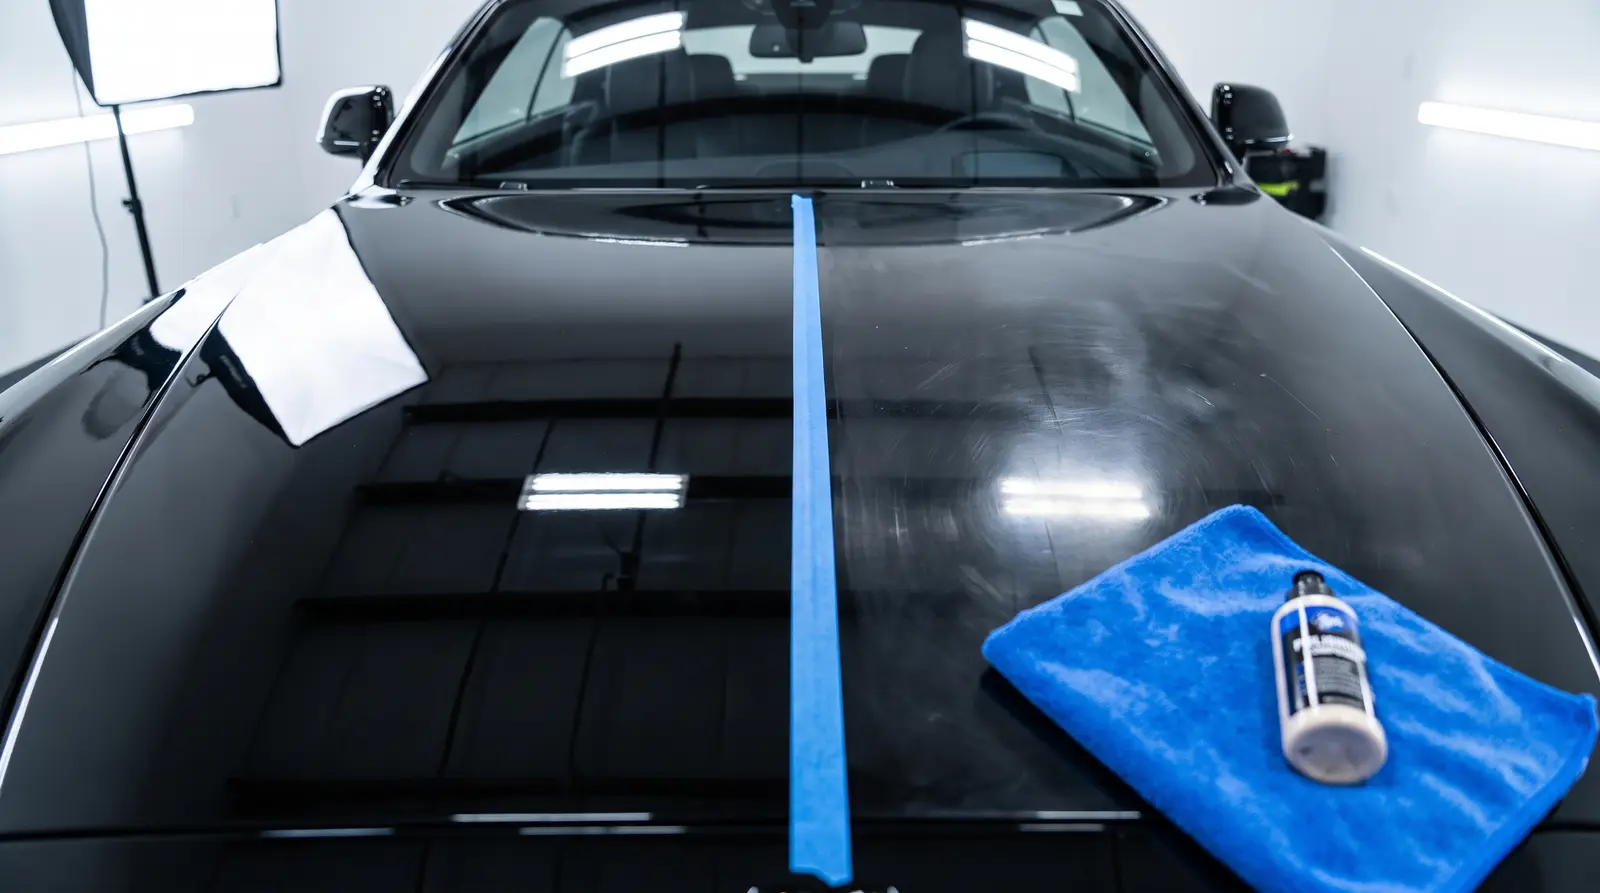
- Check paint clean, dry, in strong light, that is where defects show.
- Swirls and water spots mean you need correction before coating.
- Knowing your paint's condition lets you budget correction plus coating together.
A ceramic coating locks in whatever your paint looks like the day it goes on, so a 10-minute paint check before you book is the smartest thing you can do. It tells you how much correction the paint needs, lets you budget correction and coating together rather than being surprised, and arms you to recognise a quote that skips correction, which is the most common way people end up with swirls sealed under an expensive coating. You do not need special equipment, just good light and a systematic look.
Step 1: get the paint clean and dry
Defects hide under dirt and water, so inspect a freshly washed, fully dried car. A dirty car looks defect-free because grime fills and masks scratches, exactly like a swirl-remover product does. Wash it, dry it properly, and then inspect. Do not wax or use a quick detailer first, those temporarily fill defects and give you a falsely clean read.
Step 2: inspect in the right light
Light is everything. Most defects are invisible in soft, overcast or shaded light and glaringly obvious in strong directional light. Use two sources. First, direct Adelaide sunlight, which is intense enough to reveal swirls and haze across a whole panel: walk around the car and watch how reflections change. Second, a bright white LED torch or your phone torch held close to the panel in a dark garage, which reveals fine swirls and marring the sun misses. Between the two you see almost everything a detailer will.
- Direct sunlight: reveals overall swirl patterns, haze and oxidation across panels.
- LED torch in a dark space: reveals fine swirls, marring and holograms up close.
- Look at bonnet, roof and boot first, horizontal panels take the most UV and water damage.
- Check at multiple angles, a swirl invisible head-on jumps out at 45 degrees.
Step 3: identify what you are seeing
| What you see | What it is | Correction implication |
|---|---|---|
| Circular cobweb pattern in sun | Swirl marks | Single stage, or multi if heavy or on black |
| Cloudy rings or dots | Hard-water spot etching | Single stage if light, multi if burned in |
| Straight lines catching a nail | Deeper scratches | May need wet-sand or touch-up |
| Dull, chalky, faded surface | UV oxidation | Multi-stage cutting to restore |
| Faint haze or buffer trails | Previous poor polish | Refining correction to remove |
Step 4: run the fingernail test on scratches
For any scratch, drag your fingernail gently across it. If your nail glides over, the scratch is in the clear coat and correction will remove it. If it catches, the scratch is deeper and may need touch-up rather than polishing. This one test tells you whether a scratch is a correction job or a paint job, which changes the conversation with your installer.
Step 5: use what you found
Your inspection gives you a rough correction level before you even get a quote. Mostly light swirls on a well-kept car points to single-stage correction. Heavy swirls, water-spot etching, oxidation or a dark car points to multi-stage. Take that understanding to the specialist. A good Adelaide installer will inspect and test-spot themselves and should agree with what you found. If a quote proposes coating your visibly swirled paint with no correction, that is your cue to ask why, because they are about to lock those swirls in for years.
The best question you can ask an installer is simple: what correction does my paint need before you coat it? If the answer is none and you can see swirls in the sun, get a second opinion.
Once you know roughly what your paint needs, the next step is an expert inspection and honest quote. We connect you with vetted Adelaide specialists who inspect, test-spot and recommend only the correction your paint genuinely needs before coating. Get matched with a trusted local installer.
Get free quotes